
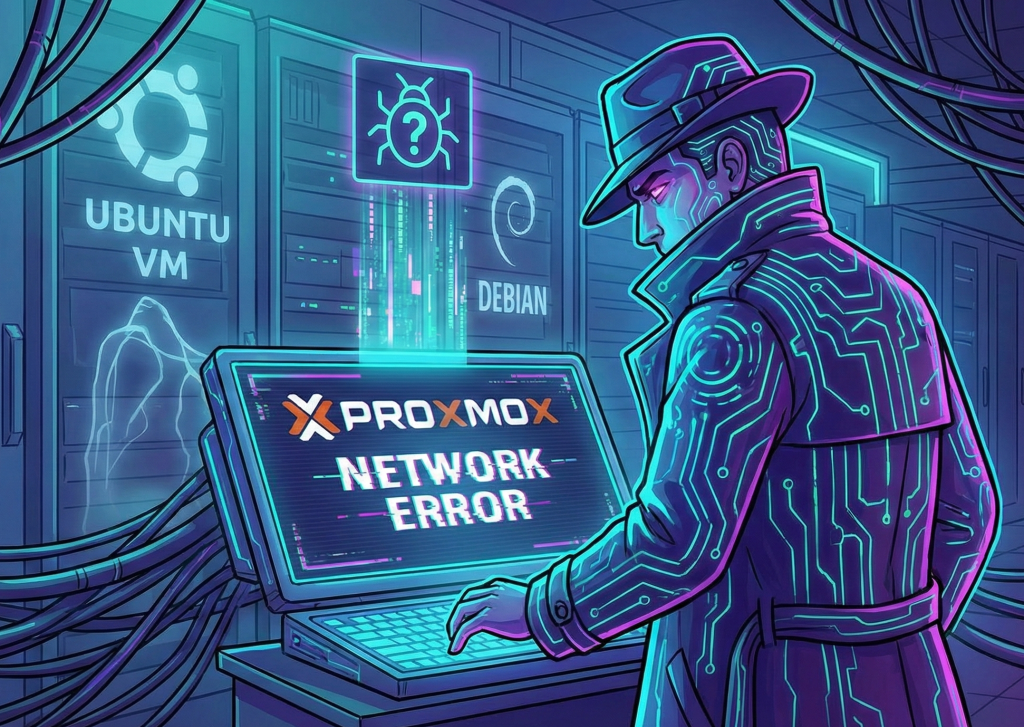
The Case of the Phantom Network Bug: A Proxmox Troubleshooting Journey
TL;DR: If your Ubuntu/Debian VM installs are failing on Proxmox 8.1 specifically when the network is enabled, stop debugging your Intel drivers. It’s likely an upstream Ubuntu repository synchronization issue. This post details how I chased red herrings like MTU and hardware offloading, only to find the answer in the logs I should have read first.
The Problem
It started with a routine task: spin up a fresh Ubuntu 24.04 VM on a Proxmox 8.1 cluster. What should have been a 10-minute operation turned into an afternoon of diagnostic rabbit holes.
The Symptoms:
- New Ubuntu and Debian VM installations failed during the “Installing System” phase.
- The installer crashed specifically when trying to fetch the Linux kernel.
- Critically: Disabling the network adapter allowed installations to complete successfully.
- Windows VMs installed without any issues.
The timing was suspicious. My Proxmox host had just received updates on February 4th, including Kernel 6.17 and PVE 9.1 updates. When things break immediately after an update, it’s natural to blame the update.
The Investigation: A Study in Misdirection
Like many sysadmins, I fell into the trap of applying “likely” fixes based on symptoms rather than digging for evidence immediately.
Suspect #1: The Intel IGC Driver
The host machine uses an Intel I225-V NIC with the igc driver. This driver has a notorious history of issues with TCP Segmentation Offload (TSO) in Linux. The symptoms matched perfectly: network failures on large data transfers (like kernel packages).
The Theory: Hardware offloading was corrupting packets during large transfers.
The Attempted Fix:
Bash
ethtool -K nic0 tso off gso off gro off
The Result: Failure.
Suspect #2: MTU and Fragmentation
With the driver ruled out, I suspected the network infrastructure. Perhaps an upstream router was dropping large packets due to an MTU mismatch?
The Attempted Fix:
Bash
ip link set vmbr0 mtu 1400
The Result: Failure.
At this point, I had a choice: keep guessing (Change virtual NIC models? Swap cables?) or actually look at what the VM was screaming at me.
The Breakthrough: Reading the Logs
I SSH’d into the failing VM while it was in the error state and checked /var/log/syslog. The answer was staring me in the face:
Plaintext
The following packages have unmet dependencies: linux-generic : Depends: linux-image-generic (= 6.8.0-100.100) but 6.8.0-71.71 is to be installed Depends: linux-headers-generic (= 6.8.0-100.100) but 6.8.0-71.71 is to be installedE: Unable to correct problems, you have held broken packages.
The problem was never my server. It was the Ubuntu repositories.
The Root Cause: Repository Synchronization
Here is exactly what was happening:
- The Ubuntu installer fetched package metadata from the mirrors.
- The metadata for
linux-generic(the metapackage) claimed it required kernel version 100. - However, the actual binary file available on the mirror was still version 71.
- The installer couldn’t resolve this dependency conflict and crashed.
To prove this wasn’t a local issue, I compared the logs of a successful install I performed earlier (webapp1) against the failed VMs.
| Install | Metapackage Requested | Binary Available | Result |
| webapp1 (Success) | linux-generic v94 | linux-image-generic v94 | MATCH |
| Failed VMs | linux-generic v100 | linux-image-generic v71 | MISMATCH |
Why wasn’t this affecting everyone?
If Ubuntu repos were broken, surely the internet would be on fire? It likely comes down to Mirror Synchronization Timing. The specific mirror my server was hitting (gb.archive.ubuntu.com) likely had the new metadata but hadn’t finished syncing the binaries. This creates a brief “window of breakage” for anyone installing at that exact moment.
The Fix (Workaround)
Since you can’t fix an upstream repository, you have to work around it.
- Create the VM with the network device disconnected (or uncheck “Download updates during installation”).
- Install from the ISO. This forces the installer to use the self-consistent packages on the disc (Version 71 or 94).
- Reboot and Enable Network.
- Update the system:Bash
sudo apt update && sudo apt upgrade
Once the system is installed, apt handles these phased updates much more gracefully than the installer does.
The Meta-Lesson: Logs > Guesses
This troubleshooting session revealed a critical pattern in how we often approach problems.
| Approach | Time Spent | Outcome |
| TSO/GSO fix (guess) | 15 min | Failed |
| MTU fix (guess) | 10 min | Failed |
| Read guest logs | 5 min | Root cause found |
The proposed MTU fix would have done nothing but degrade network performance, leaving the system broken. The log contained the exact error from the start.
Next time you have a “Network Error,” don’t touch ethtool until you’ve read /var/log/syslog inside the guest.
Technical Cheat Sheet
For those troubleshooting similar issues, here are the commands used in this investigation.
Check NIC Offloading Status:
Bash
ethtool -k nic0
Disable Offloading (Temporary):
Bash
ethtool -K nic0 tso off gso off gro off
Extract Installer Logs from Guest:
Bash
ssh user@<GUEST_IP> "sudo tar czf - /var/log/installer" > vm_installer_logs.tar.gz
Check Repository Status (Powershell):
PowerShell
Invoke-WebRequest -Uri "http://archive.ubuntu.com/ubuntu/pool/main/l/linux/" -UseBasicParsing | Select-String "linux-image-6.8.0-100"
